
How to Teach Yourself to Swim: Kicking Technique (Part 3)
What this guide covers:
This is Part 3 of our self-teaching series. In Part 1, we covered gear and why your first two weeks should focus on kicking. In Part 2, we covered breathing. By now, you should have a basic kick going and a breathing pattern that's starting to feel less panicked. This part is about refining that kick — because "moving your legs a lot" and "kicking correctly" are two very different things, and only one of them actually moves you forward efficiently.
If you want a deeper look at why a kickboard specifically helps with this (and why it's not a safety device), our full guide on kicking boards for swimmers covers that in detail. This article focuses on the technique itself.
Mistake 1: The Bicycle Kick
This is the single most common thing self-taught swimmers do. The knees bend sharply, almost like pedalling a bicycle, and the kick becomes a big, effortful, splashy motion that goes nowhere.
Why it happens: bending the knee feels like it's generating power, because on land, bent knees are how we generate force (jumping, running). In water, the opposite is true — a bent-knee kick mostly just pushes water sideways and up, not backward, which is the direction that actually propels you.
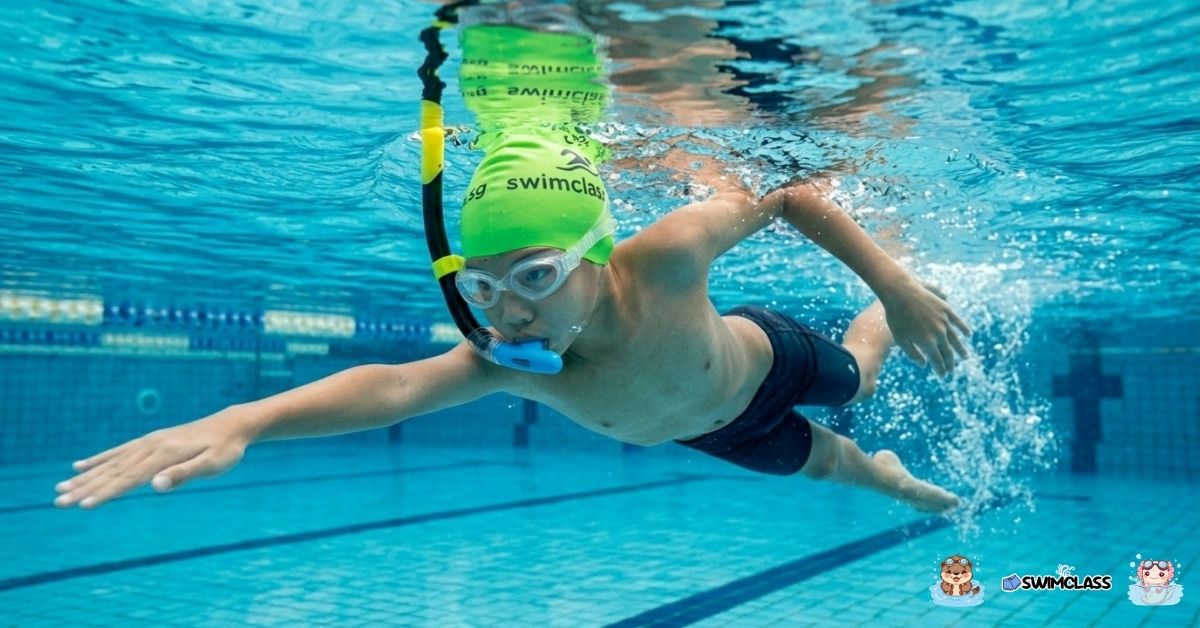
The fix: keep your legs relatively straight, with just a slight, natural bend at the knee — think "long and loose," not "pedalling." The kick should come from the hip, with the knee following passively rather than driving the motion.
Mistake 2: Floppy or Flexed Ankles
If your ankles are stiff and flexed (toes pointed up toward your shin), your feet act almost like a brake, catching water instead of pushing it. If they're completely limp with no engagement at all, you lose power the other way — there's nothing for the water to push against.
The fix: aim for relaxed but slightly pointed feet — like a gentle, natural point, not a rigid ballet point. If your ankles feel tense while kicking, that's usually a sign they're too stiff.
Mistake 3: Kicking Too Wide
Legs spreading apart wide with each kick feels powerful, but it actually creates drag and slows you down, since the sideways motion works against your forward direction rather than with it.
The fix: keep your kick narrow — roughly within the width of your hips, not much wider. A useful mental image: imagine you're kicking inside a narrow tube just a bit wider than your body.
Mistake 4: Kicking From the Knee Instead of the Hip
This one's related to the bicycle kick but distinct enough to call out separately. Even with relatively straight legs, some beginners still initiate the kicking motion from the knee joint rather than the hip. The visible symptom: the upper leg barely moves, and all the action happens below the knee.
The fix: the whole leg should move as one unit, initiated from the hip, with the knee simply following along. A helpful check: if you can see your upper leg (thigh) moving with each kick, you're likely doing it right. If your thigh stays still and only your lower leg is working, that's the knee-driven pattern to correct.
How to Know Your Kick Is Actually Working
Here's a simple, honest test: hold a kickboard out in front of you with both arms extended, and kick for 15-20 seconds. If you're moving forward at a reasonable, steady pace with relatively little splash, your kick is doing its job. If you're splashing a lot but barely moving, that's a clear sign one or more of the mistakes above is happening — go back through the checklist and see which one matches what you're feeling.
A steady, correct kick should feel almost boring — controlled and repetitive, not exhausting and chaotic. If kicking wears you out in under a minute, that's usually inefficient technique burning energy, not genuine fitness limitation.
A Simple Progression to Practise
Don't rush this. A kick that's genuinely correct — not just "kind of working" — makes every stage that comes after (breathing coordination, then adding arms) significantly easier.
What's Next in This Series
Once your kick feels controlled and your breathing pattern feels automatic, Part 4 covers pulling and putting the full freestyle stroke together — the final piece of this self-teaching series.
Frequently Asked Questions
Why does my kick feel exhausting but I'm barely moving?
That's usually a sign of inefficient technique, not a fitness problem — common causes include a bicycle kick, kicking too wide, or stiff ankles, all of which waste energy without generating much forward motion.
Should my knees bend a lot when kicking?
No — legs should stay relatively straight with just a slight, natural bend. A sharp knee bend (the "bicycle kick") is one of the most common mistakes and actually reduces propulsion.
How do I know if I'm kicking from my hip or my knee?
Watch your thigh while kicking — if it's moving with each kick, you're likely using your hip correctly. If your thigh stays still and only your lower leg moves, you're kicking from the knee, which is less efficient.
How wide should my kick be?
Roughly within the width of your hips — a wider kick creates sideways drag that works against forward movement rather than helping it.
How long should I practise kicking before moving to the next stage?
There's no fixed timeline, but the real signal is control — once your kick feels steady and consistent rather than chaotic and exhausting, you're ready to move on.
Prefer to Skip the Trial and Error?
Book a lesson at Swim Class Singapore — our coaches can spot exactly which of these mistakes is happening in real time, which is much faster than guessing on your own.
👉 Book a lesson at swimclass.sg
Ready to find a suitable coach? Check swimming lesson availability for your preferred area and schedule.
Why Parents Love Swimming Lessons at Swim Class Singapore
Parents across Singapore trust Swim Class because we focus on both safety and fun.


Our lessons emphasize child-friendly teaching methods, small group attention, clear progression and skill development, and positive, encouraging instructors who help every child build confidence in the water.
Most importantly, we help kids build confidence in the water while enjoying every lesson.
Frequently Asked Questions About Kids Swimming Lessons
Everything parents usually ask before their little swimmer jumps in — from safety and schedules to choosing the right class.
Absolutely. Our baby swimming classes in Singapore are designed with safety as the top priority. Lessons are parent-assisted and led by certified swim instructors who specialize in helping babies and toddlers feel comfortable, confident, and happy in the water. Every session is gentle, structured, and designed to make those first splashes a positive experience.
It’s easier than you might think. Our kids swimming lessons in Singapore are organized by age and skill level, from baby swimming to beginner and intermediate programs. Simply share your child’s age and swimming experience, and we’ll recommend the class that helps them learn, progress, and enjoy the water at their own pace.
Yes, we offer swimming lessons at both condo pools and public swimming complexes across Singapore. This gives families the flexibility to choose the location that is most convenient for them.Lessons at public swimming pools are open to all students who want to join our swim classes.Lessons conducted at condo pools are available for residents of that condominium only, in accordance with condo management rules. If you live in a condo with a pool, we can arrange lessons right at your residence for added convenience.Just let us know your preferred location, and we’ll help match you with the best swimming lesson option in Singapore for your little swimmer.
Both options are available. We run swimming lessons at condo pools and public swimming complexes across Singapore, so you can choose the location that’s most convenient for your family. Once you tell us your preferred area, we’ll match you with a coach nearby.
Children can begin baby swimming lessons from around 6 months old. Starting early helps babies develop water confidence, basic safety awareness, and comfort in the pool — all while having fun and bonding with their parents.
Yes, we do. Our instructors provide SwimSafer preparation lessons in Singapore, helping children develop the swimming skills and water safety knowledge needed for the national SwimSafer programme. Lessons focus on both technique and confidence so kids feel ready for the next stage.
Still Curious? Let’s Chat!
Got a question about baby swimming, kids swimming lessons, or SwimSafer prep in Singapore? Our friendly team is happy to help you find the perfect class for your little swimmer.
Book your child's first lesson
Start your child’s swimming journey in Singapore with certified coaches who specialize in baby and kids swimming lessons. We’ll help your little swimmer build confidence, safety skills, and strong swimming technique from the very first splash.